Desk Caddy/ Pencil Holder
Creating a Pencil Holder
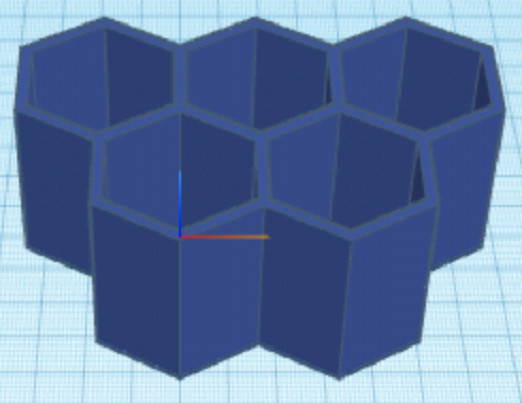
You will need to create a new design in Tinkercad Codeblocks to start creating a Pencil Holder. The design will look like the image on the right when we are finished.
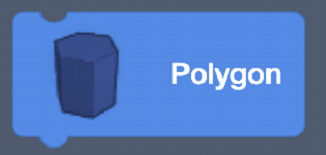
We will be using five hexagons in this design so you will need to find the Polygon Block from the Shapes toolbar, shown below.
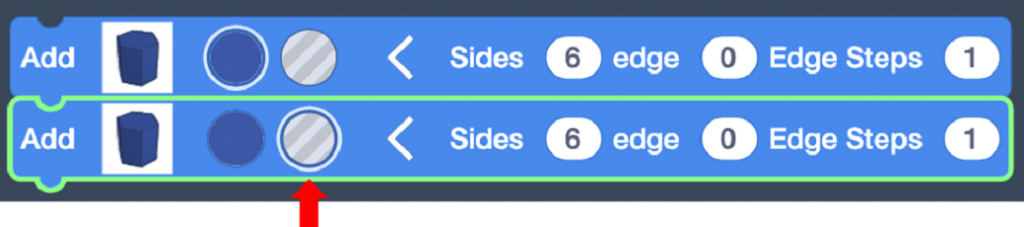
Drag this Block into the Coding Space and expand the Block by clicking on the > button to view different properties of the shape as shown below. Check that the Polygon has 6 sides.

In order to make this a hollow container we need to add another hexagon. Drag another Polygon Block into the Coding Space and attach it to the previous Block. Make sure to click the No Colour circle to make this new shape a hole.
If you press Play to run the code, you will get two hexagons that are the exact same size overlapping one another. We need to make the new hexagon smaller so it fits inside the first hexagon and can create a container.
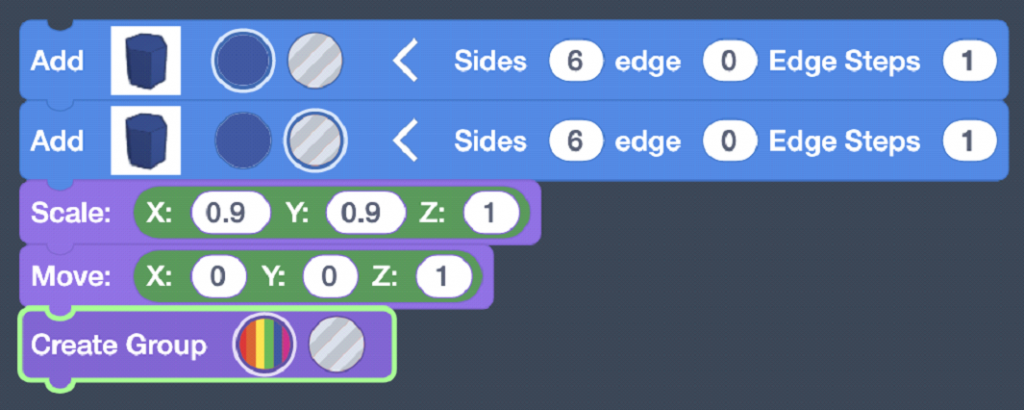
In order to resize this new Block go to the Modify tab on the toolbar and drag a Scale Block into the Coding Space. Next, change the values of X and Y to 0.9. This will decrease the size of the hexagon to 90% of its original size.

We only want the container to be open on the top so we have to add a Move Block from the Modify toolbar into the Coding Space. Changing the Z value to 1 will move the hollow hexagon upwards. Next, add a Create Group Block onto the rest of the code to group the shapes together. Your code should look the same as below:

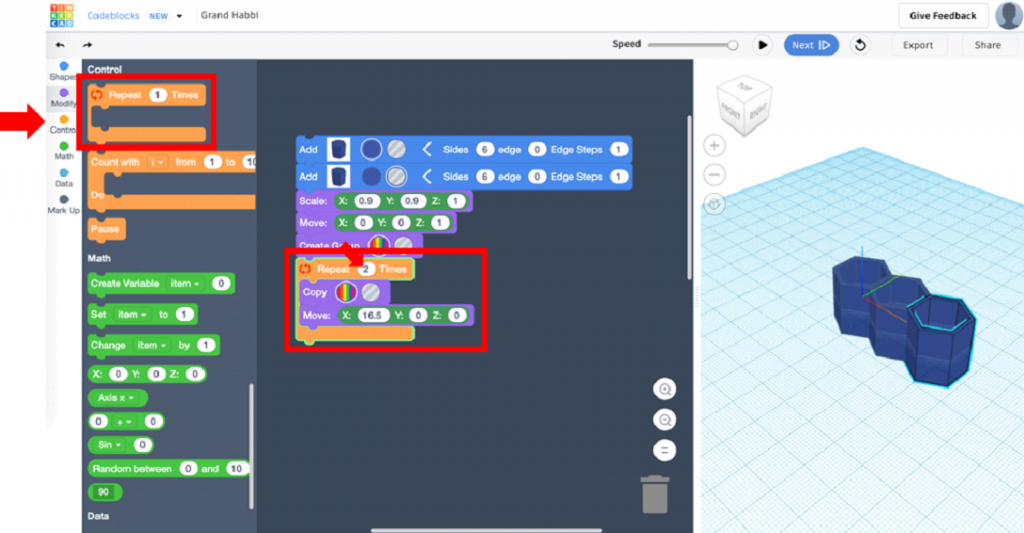
Now we need to Copy that container using a Copy Block from the Modify toolbar. We need to move the copied shape beside the first one. After dragging a Move Block into the Coding Space, change the value of X to 16.5, as shown below:
Since we have 3 of the same shape beside one another we can use a Repeat Block. From the Control toolbar, drag the Repeat Block so it fits around the last two Blocks placed. Change the repeat value from 1 to 2. This will repeat the Copy and Move block. Press Play to run the code. Your screen will look the same as below:
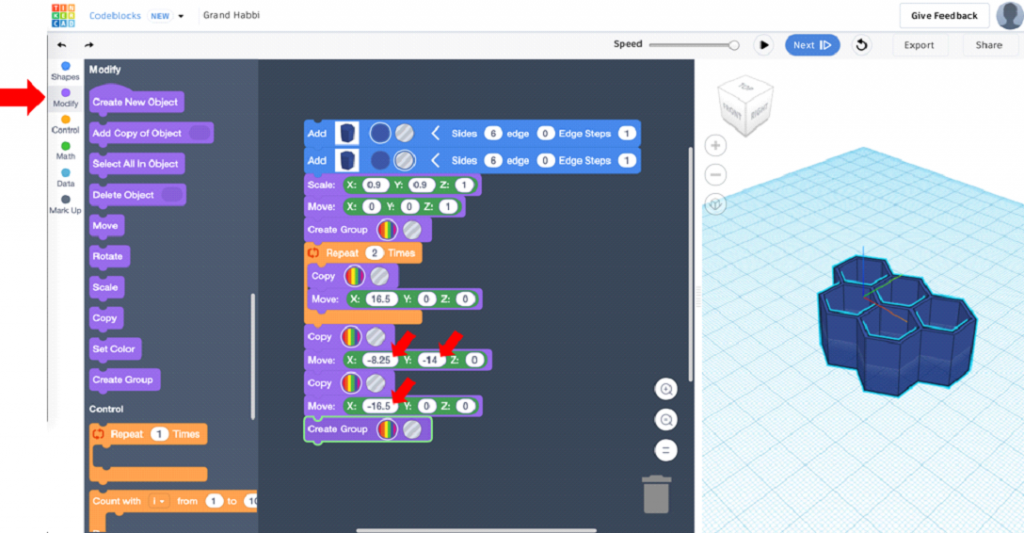
To add the last two copies go to the Modify toolbar and add another Copy Block, with a Move Block underneath set to X = -8.25, Y = -14, and Z = 0. Click Play to see how the shape moves in the negative direction on the Workplane. Repeat by adding another Copy Block and another Move Block underneath set to X = -16.5, Y = 0, and Z = 0. Then add a Create Group block to group the entire shape together, as shown below:
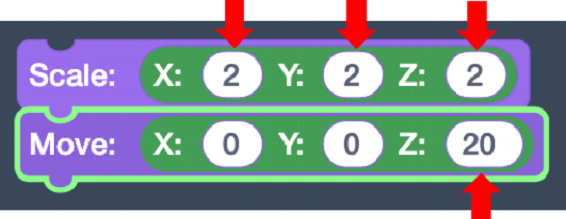
To double the size of the entire shape drag a Scale Block from the Modify toolbar into the Coding Space. Change the values of X, Y, and Z to 2. This will increase the size of the model by 200% (double the original size). Finally, in order to print the 3D model the object must lay flat on the Workplane. Use a Move Block and set the Z value to 20. The Blocks below should be added to the rest of your code.
Congratulations, you have made a Pencil Holder!