Week 7: Raspbery PI Super Mario
Introduction:
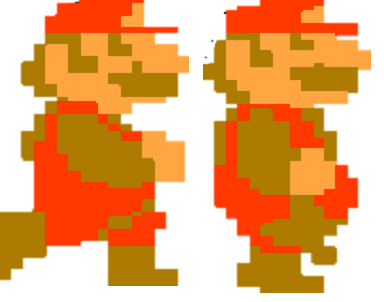
Super Mario is a series of fantasy platform games created by Nintendo featuring their mascot, Mario. Alternatively called the Super Mario Bros.
Super Mario with additions such as weather, character movements, and more complex levels, altogether yielding a much higher difficulty.
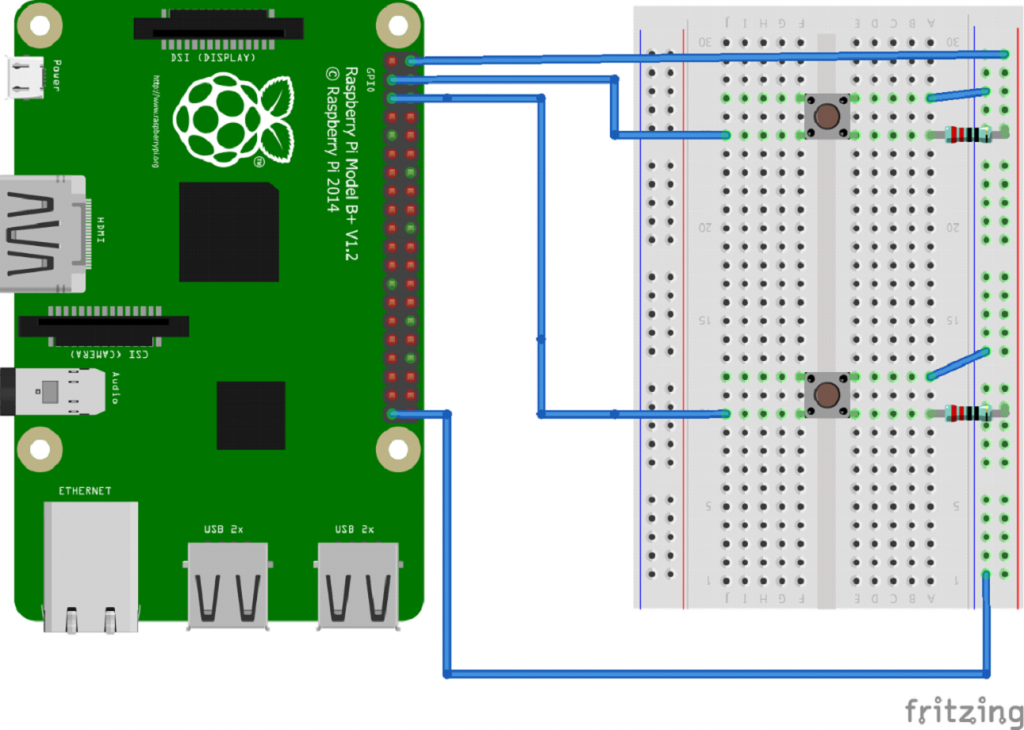
We’re going to go use inputs to make the Mario move forward and jump. In this circuit, we’ll be reading in one of the most common and simple inputs – a push button – by using a digital input. The way a push button works with your Raspberry Pi is that when the button is pushed, the voltage goes LOW. Your Raspberry Pi reads this and reacts accordingly.
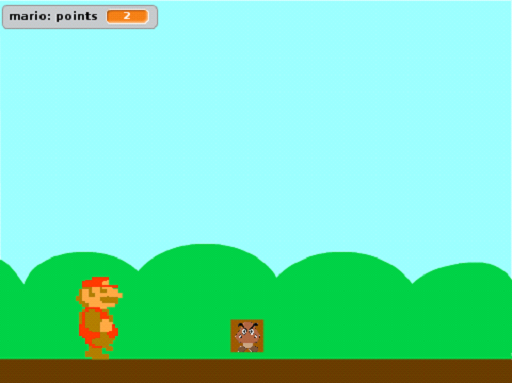
The objective is to race through the Mushroom Kingdom, survive the main antagonist Bowser’s forces, and save Princess Toadstool.
Parts Needed:
You will need the following parts:
⦁ 1x Breadboard
⦁ 1x Raspberry Pi
⦁ 5x Jumper Wires
⦁ 2x Push Buttons
⦁ 2x 10k Resistors
⦁ Hardware Hookup
Ready to start hooking everything up?
Circuit Diagram:
The wiring is like the Two Push Button activity.
Programming Code:
For this project before the Coding you will need to create your sprites and backgrounds.

The Code for this project is split into two:
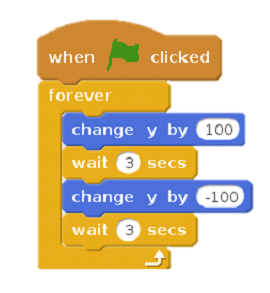
Code for Gumba:
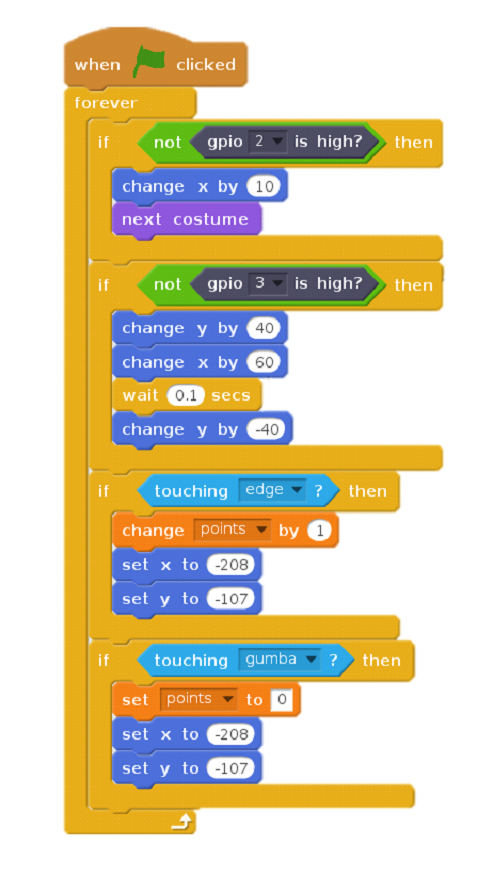
Code for Mario: