Activity – 3 (Dodgeball)
Introduction:
In this activity you will learn how to create a game in which the player has to dodge the moving balls to reach the end of the level.
Materials:
Computer or laptop, scratch
Procedure:
- Make sure you are signed into your scratch account.(see page 2)
- In your search bar type in rpf.io/dodgeball-on
- At the top of your page press “Remix”.

4. We will now begin to code our dodgeball game
5. To begin this code we will first start off by choosing a sprite. You will click this button located at the bottom of your page. You will then press “choose sprite”

6. In the search bar type in “Pico walking” and click the sprite.

7. You will now add code blocks to your character sprite so that the player can use the arrow keys to move the character around. When the player presses the right arrow, the character should point right, move a few steps, and change to the next costume. To do this we will first start off by going under the events command and dragging out this block. You can place this block anywhere.

8. You will then go under the control command and drag out this block. Place this block underneath the previous block.
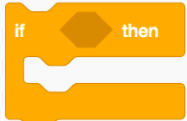
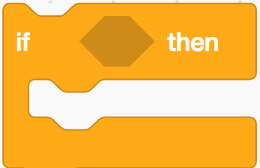
9. You will now go under the control command and drag out this block. You will place this block in between the forever block.
10. You will now go under the sensing command and drag out this block. In the drop down menu select “Right arrow. You will then place this block in the empty space in between “if… then”

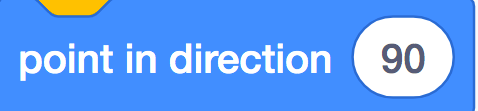
11. Now you will go under the motion command and drag out this block. In the white circle type in “90”. You will then place the block inside the “If” block.

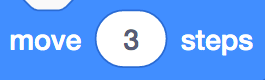
12. You will now go under the motion command and drag out this block. In the white circle type in “3”. You will place this block under the “point in direction …” block.
13. Now you will go under the looks command and drag out this block. You will place this block underneath the previous block.

14. We will now add code blocks so that the character sprites walks left when the left arrow key is pressed. To do this we will add a next If… then block. You will place this block underneath the first If… then block making sure they are attached.
15. You will then go under the sensing command and drag out this block. You will place this block in the empty space in between the If… and then. In the drop down menu select “left arrow”.

16. You will then go under the motion command and drag out this block. You will place this block inside the “If” block. In the white circle type in “-90”.

17. You will then go under the motion command and drag out this block. Place this block underneath the previous block. In the white circle type in “3”.
18. You will now go under the looks command and drag out this block. Place this block under the “move… steps” block.

19. We will now add code so that the character sprite can climb up the pink ladder. To do this we will need to add a next If block. You will place this under the previous If block.
20. You will then go under the operators command and drag out this block. You will place this block in the empty space in between “if … then”.

21. You will then go under the sensing command and drag out this block. In the drop down menu select “up arrow”. You will place this block in the first empty green spot before the “and”.

22. You will then go under the sensing command and drag out this block. You will then click on the colour. At the bottom there will be a colour dropper. You will select any of the pink ladders. You will then place this block in the empty green spot after the “and”.

23. You will now go under the motion command and drag out this block. In the white circle type in “4” you will place this block inside the “if” block.

24. We will now add more code so when your character sprites reaches the green door it will say something. We will start off by dragging out another “if” block. You will place this block under the previous “If” block.
25. You will then go under the sensing command and drag out this block. You will click on the colour. At the bottom there will be a colour dropper. You will select the green door. You will then place this block in the empty space in between “If… then”.

26. Now you will go under the looks command and drag out this block. You will place this block inside the “If” block. In the white circle type in “Yayy!”

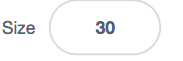
27. You will now change the size of your sprite. Click size and change it to “30”
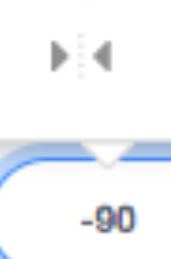
28. When you click the left arrow your sprite will turn upside down. To fix this click direction and press the middle button
29. You can now test your code.
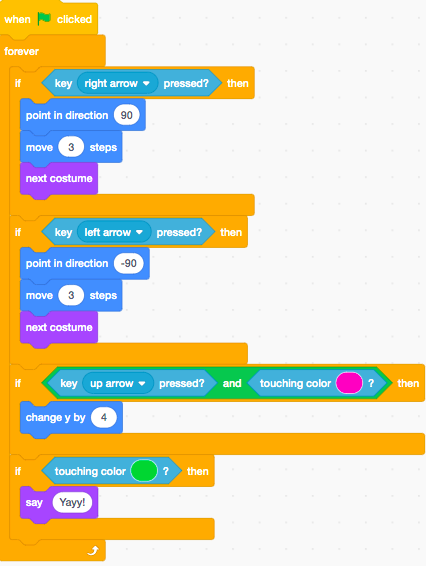
Your code should look like this so far
30. You are now going to make your character move more realistically. You’re going to add gravity to your game and give your character the ability to jump. To do this, we will create a new variable called “Gravity”
31. Go under the variable command and click “Make a variable”. Name the variable “Gravity” and click “for this sprite only”. You will then press “ok” to save this variable.
32. We are now going to start coding our game so it has gravity. To start off, we are going to go under the events command and drag out this block. You can place this block anywhere because we are starting a new code.
33. You will then go under the variable command and drag out this block. In the white circle type in “-4”. You will place this block underneath the “when… clicked” block that you just dragged out.

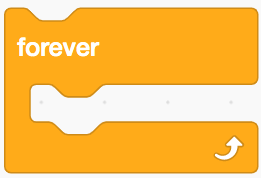
34. You will now go under the control command and drag out this block. Place this block under the “Set Gravity to …” block

35. You will then go under the Control command and drag out this block. You are going to place this block inside the forever block.
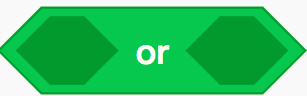
36. You will now go under the operators command and drag out this block. You will place this block In the empty space in between “If… then”

37. You will then go under the operators command and drag out this block. You will place this block in the first green empty space.
38. You will then go under the sensing command and drag out this block. You will click on the colour. At the bottom there will be a colour dropper. You will then select the blue.

39. You will now go under the sensing command and drag out this block. You will click on the colour. At the bottom there will be a colour dropper. You will then select the pink

40. You will now go under the motion command and drag out this block. Place this block inside the “if… then” block.

41. You will then go under the variable command and drag out this block. You will place this block in the white circle of the “change y by …” block.

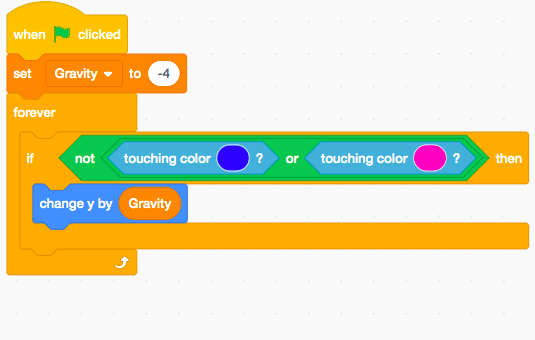
Your code should look this
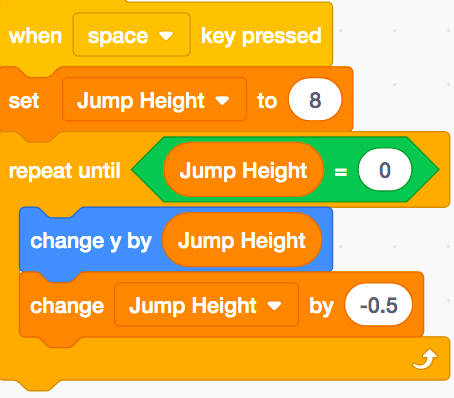
42. You will now add code to make your character jump whenever the player presses the space key.
43. You will go under the events command and drag out this block. Under the drop down menu, select “space”. You can place this block anywhere since we are starting a new line of code.

44. You will now make a new variable called “Jump height”. To do this, go under the variable command, and press “make a variable” you will name this variable “Jump Height” you will then press “for this sprite only” then you will press “ok” to save your variable.
45. You will then go under the variable command and drag out this block. Under the drop down menu select “Jump Height”. In the white circle type in “8”. You will then drag this block underneath the “When space key pressed” block.

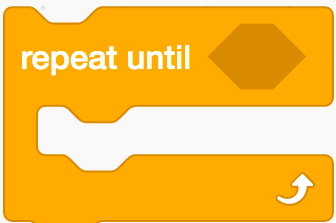
46. You will then go under the control command and drag out this block. Place this block under the “set jump height to …”.
47. You will then go under the operators command and drag out this block. Place this block in the empty space beside “repeat until… ”
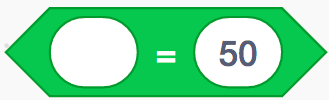
48. You will then go under the variable command and drag out this block. Place this block in the first white circle. In the second white circle type in “0”

49. You will then go under the motion command and drag out this block. You will place this block inside the “repeat until …” block.
50. You will then go under the variable command and drag out this block. You will place this block in the white circle next to “change y by…”

51. You will then go under the variable command and drag out this block. You will place this block underneath the previous block. In the white circle type in “-0.5”

Your code should look like this
52. It’s now time to add some balls that the character has to avoid. To do this we are going to have to create a new sprite.
53. You will click this button located at the bottom of your page. You will then press “choose sprite”
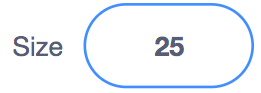
54. In the search bar type in “Ball”. You can choose any ball you would like.
55. You are then going to change the size of your ball to “25”
56. We are going to start adding code to our ball sprite.
57. You will now go under the events command and drag out this block onto your blank working space
58. You will now go under the looks command and drag out this block. Place this block underneath the previous block.
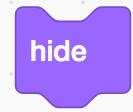
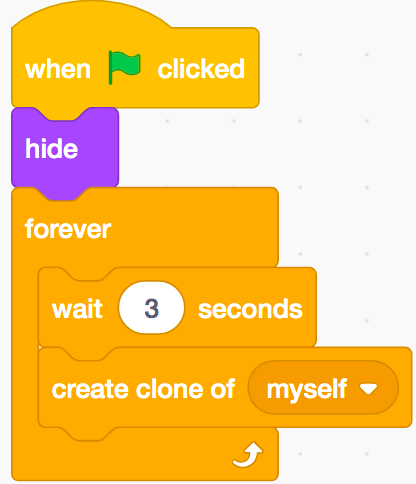
59. You will then go under the control command and drag out this block. Attach this block to the “hide” block
60. You will then now go under the control command and drag out this block. In the white circle type in “3”. You will place this block inside the forever block.

61. You will then go under the control command and drag out this block. In the drop down menu select “myself”. You will then place this block underneath “wait… seconds”

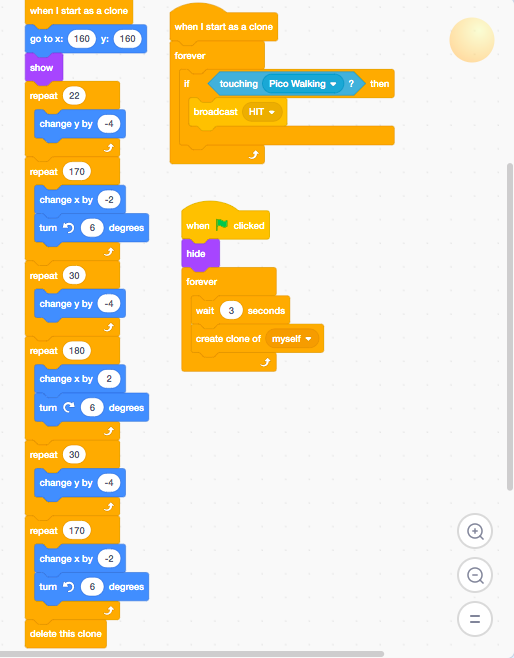
Your code should look like this
62. We will now start a new line of code.
63. You will go under the control command and drag out this block. You can place this block

64. You will then go under the motion command and drag out this block. In the first white circle next to the x: you will type in “160”. In the second white circle next to the Y: you will type in “160”. You will then place this block underneath the “When I start as a clone” block

65. You will now go under the looks command and drag out this block. Place this block under the precious block.

66. You will then go under the control command and drag out this block. In the white circle type in “22”. You will place this block underneath the “show” block
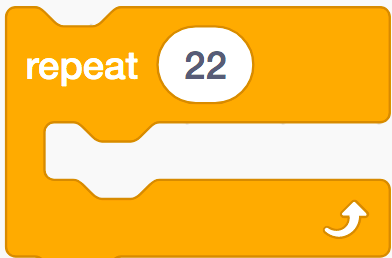
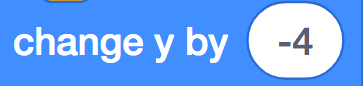
67. You will then go under the motion command and drag out this block. In the white circle type in “-4”. You will place this block inside the repeat block.
68. You will then go under the control command again and drag out this block. In the white circle type in 170. Place this block under the previous repeat block.
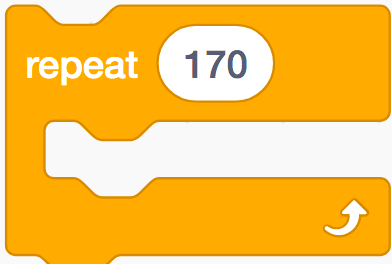
69. You will then go under the motion command and drag out this block. In the white circle type in “-2”. You will place this block inside the repeat block.

70. You will then go under the motion command and drag out this block. In the white circle type in “6”. You will then drag this block underneath the previous block.

71. You will then go under the control command and drag out this block. In the white circle type in “30” you will place this block under the previous repeat block
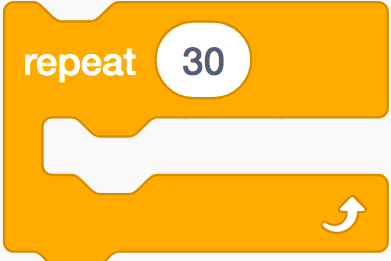
72. You will then go under the motion command and drag out this block. In the white circle type in “-4” You will place this block inside the repeat block.

73. You will then go under the control command and drag out this block. In the white circle type in “180”. You will place this block under the previous repeat block.
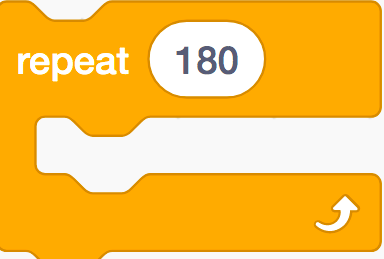
74. You will then go under the motion command and drag out this block. In the white circle type in “2”. You will place this block inside the repeat block

75. You will then go under the motion command and drag out this block. In the white circle type in “6”. You will then place the block under the previous block.

76. You will now go under the control command and drag out this block. In the white circle type in “30”. You place the block under the previous repeat block.
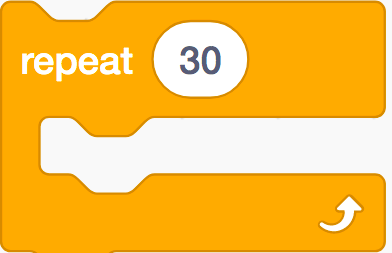
77. You will now go under the motions command and drag out this block. In the white circle type in “-4”. You will then place this block inside the repeat block.

78. You will now go under the control command and drag out this block. In the white circle you are going to type “170”. You will then place this block underneath the previous repeat block.

79. You will then go under the motion command and drag out this block. In the white circle type in “-2”. You will then place this block inside the repeat block.

80. You will now go under the motion command and drag out this block. In the white circle type in “6”. You will place this block underneath the previous block.

81. You will now go under the control command and drag out this block. You will place this block under the repeat block.

Your code should look like this

82. You will now add code blocks to broadcast a message if your character gets hit by a ball. To do this we will first start off by dragging out this block. You can place this block anywhere on your working space because we are starting a new code.

83. You will then go under the control command and drag out this block. Place this block underneath the “when I start as a clone” block.
84. You will then go under the control command and drag out this block. You will place this block inside the “forever” block
85. You will then go under the sensing command and drag out this block. Under the drop down menu select “Pico Walking”. You will then place this block in the empty space between “If … then”.

86. You will now go under the events command and drag out this block. Under the dropdown menu you will press “new message” and type in “HIT”. You will now place this block inside the “if… then” block.

87. You will now switch back to coding “pico walking”. You will add code blocks to your character sprite to make it move back to it’s starting position when it receives the “HIT” message. You will start off by going under the events command and dragging out this block. You can place this block anywhere because we are starting a new code.

88. You will then go under the motion command and drag out this block. In the white circle type in “90”. You will place this block underneath the “when I receive hit” block.
89. You will then go under the motion command and drag out this block. In the first white circle next to x: type in “-210”. In the second white circle next to y: type in “-120”. You will then place this block underneath the previous block.

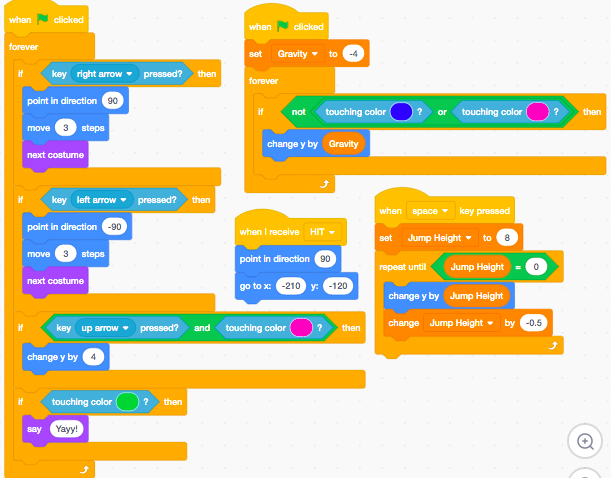
Your code is now done
See down below to see the full code.
Enjoy your game!
This code below is for Pico Walking
The code below is for the ball